

I had to make my own frame for my college certificates. What self respecting woodworker wouldn’t? I decided on a craftsman picture frame, a style that intrigued Jill and me for several years. After mounting it on the wall, I was surprised how large the frame looks. What better way to acknowledge a hard earned accomplishment? If you are interested, follow along to see how I built this project!
I wanted to create something special to showcase this chapter of my life. I had to own the entire experience, from the first day of school to displaying the baccalaureate certificates. The frame is made of oak from my father’s warehouse, making the material sentimental. These boards used to be rough cut timbers that were packaging material for large and heavy machines. Today, the wood is repurposed for its beauty instead of its strength.
Preparing the stock
 In this picture, I am reducing the thickness of the boards with the planer. The top and bottom boards are one inch thick and the sides are three-quarters of an inch.
Years ago, I removed any hardware and jointed and planed the rough cut boards into usable material. It was a healing process to repurpose these boards after my father passed away.
Cut to length
 The miter saw is the quick and easy way to cut boards to length. Every now and then, I consider experimenting with hand tools, not with hardwoods like this oak!
The frame is 24 inches wide by 30 inches tall.
Cut to width
 The four boards used in this project are three inches wide and the table saw easily takes care of this task.
I really like using reclaimed wood for certain projects. The imperfections, the knots, nail holes, sap wood, provide additional character for the project.
Dado time
 A dado, for those who don’t know, is a groove cut into the face of a board.
On this project, I tried out a wobble dado blade. Yep, the blade wobbles from side to side at the distance it is set. My only apprehension was that the wobble dado blade inherently cuts an arc. Cutting the dado, I set the blade to cut a half of an inch and made several overlapping passes; therefore, the repeated passes mitigated the arc and made a straight surface.
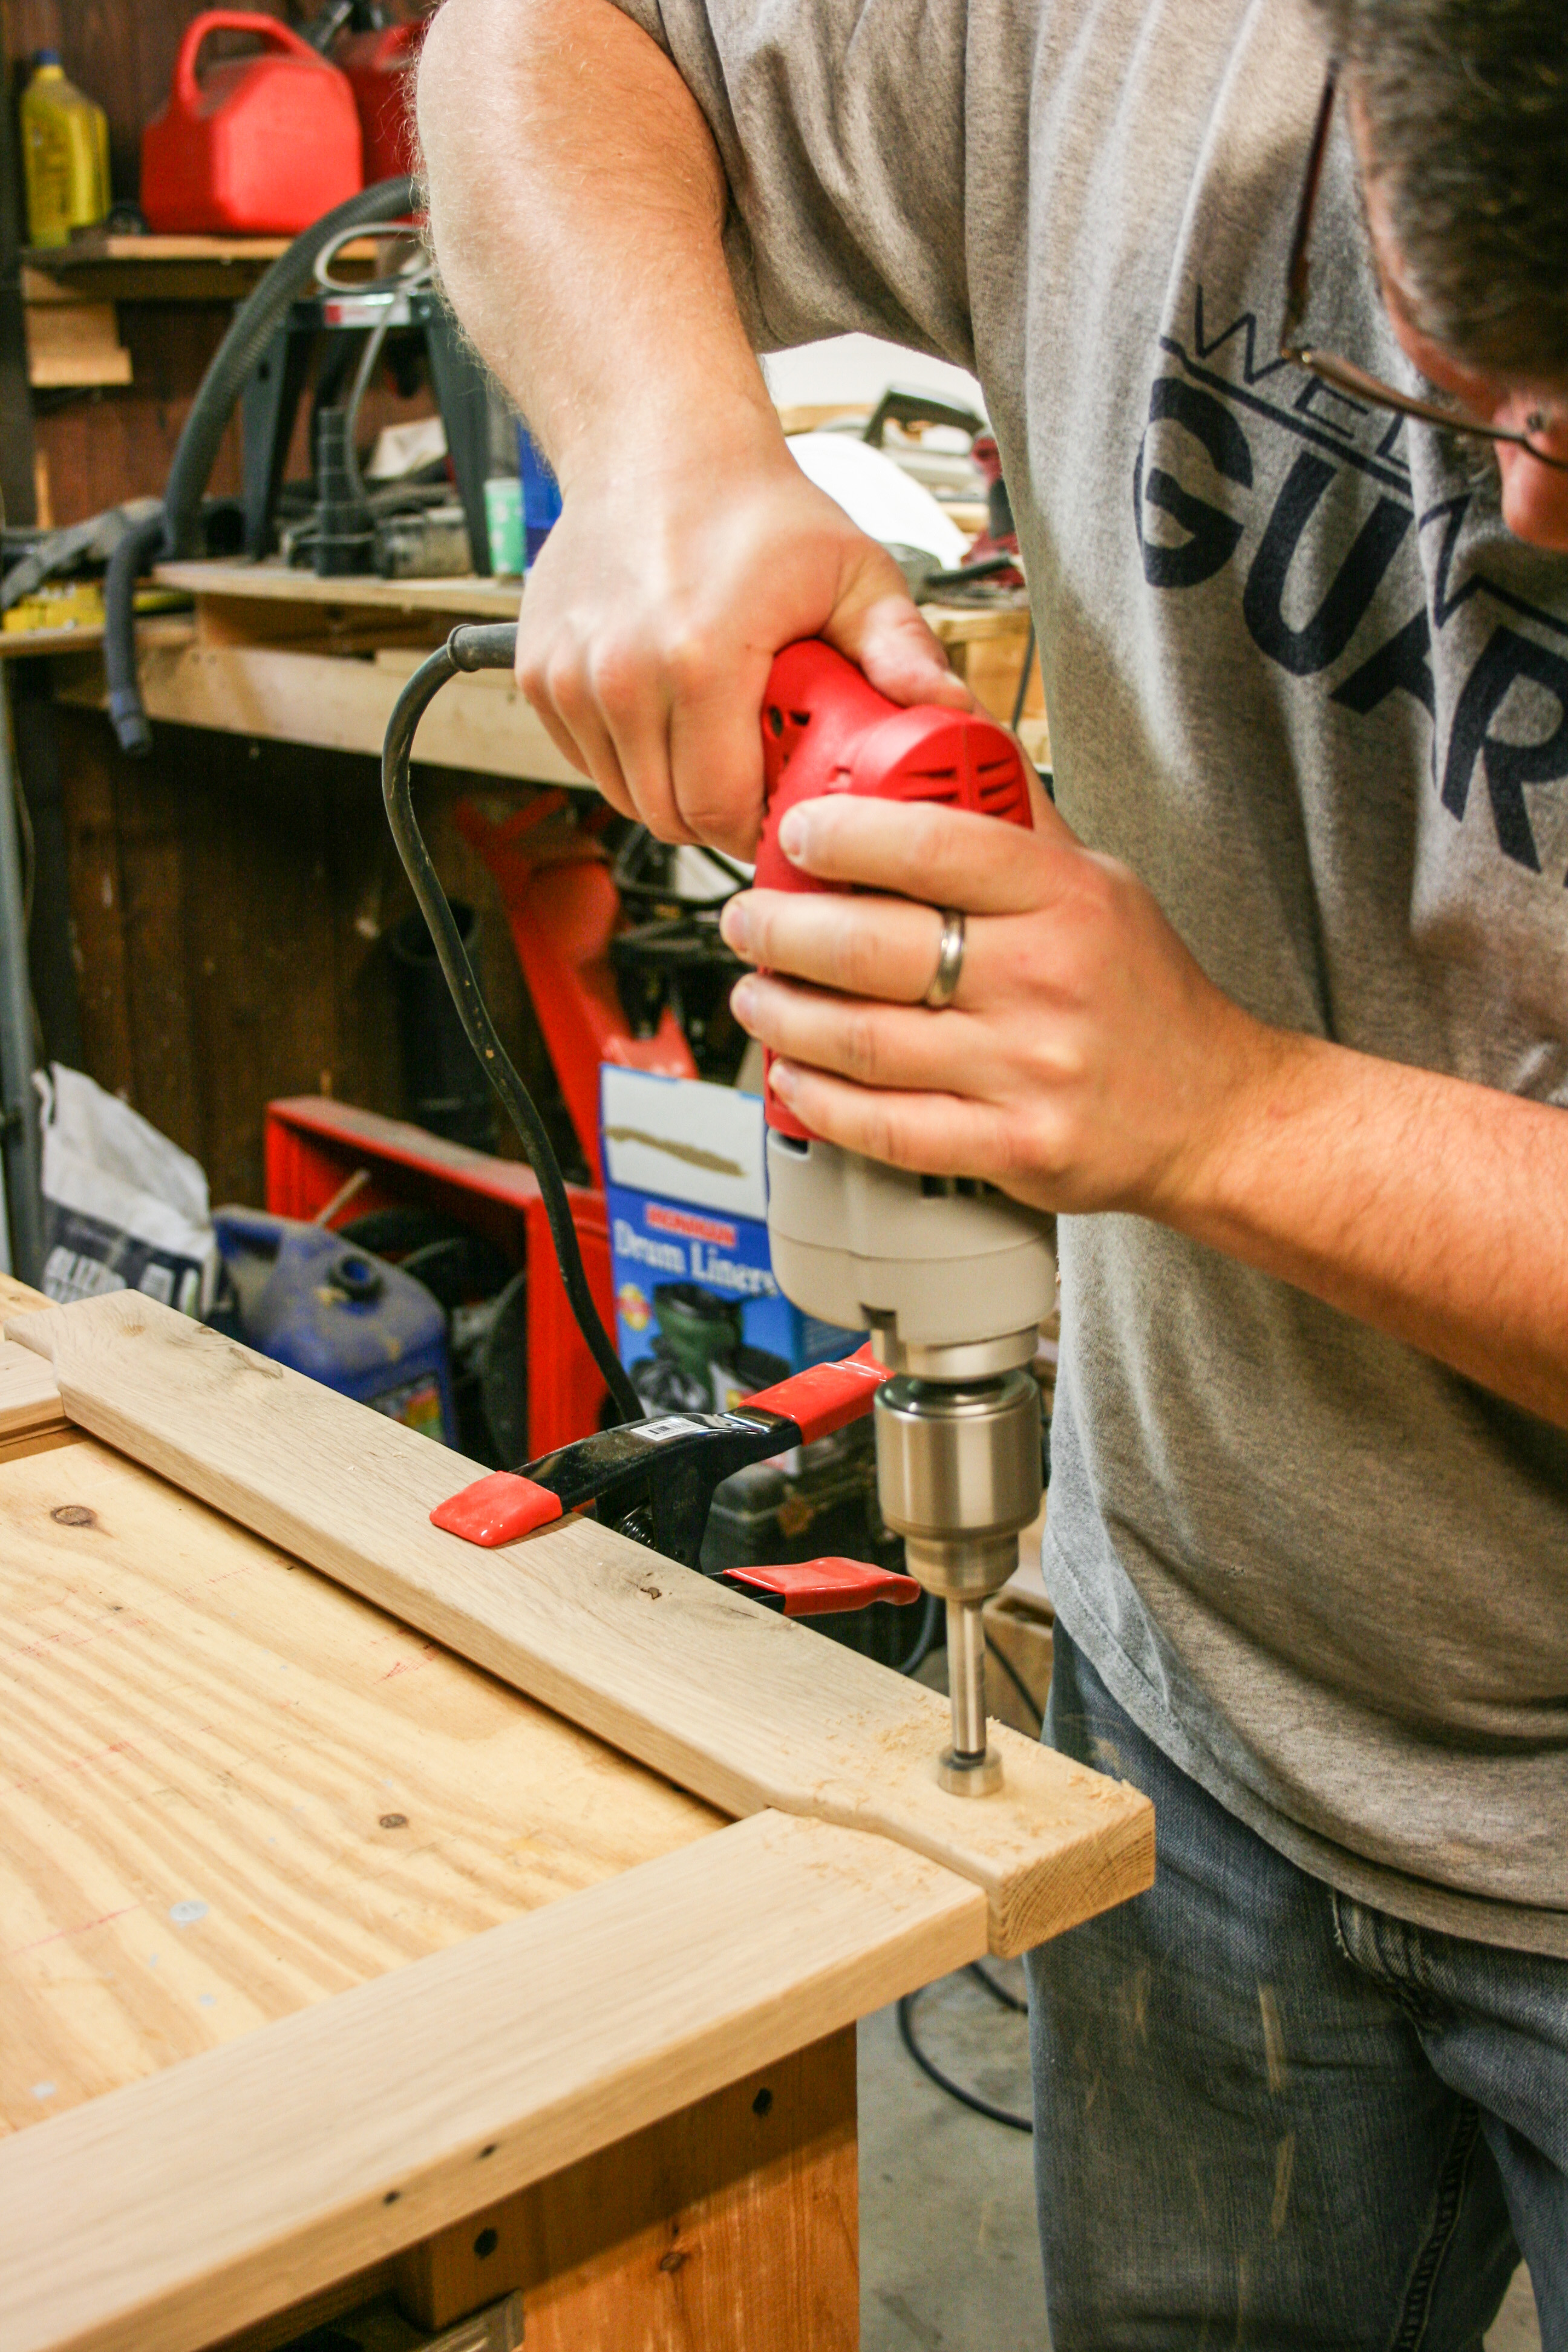
Rabbits in the woodshop
 Using a straight bit on the router table, I cut a rabbit in the boards that will accepts the Plexiglas, picture mat, and backer. The featherboard clamped to the fence keeps the work piece down on the table. The rabbit does not run the whole length of the board, so I had to be careful to start and stop at the correct locations.
Aesthetic appeal
 Honoring the craftsman tradition, I applied some simple but effective decoration to the top and bottom boards. I used the bandsaw to cut the irregular shape.
Ease the edges
 Although the wood is already aged, the milling operations put sharp edges on the boards. I decided to round over the edges to give the frame an older and warmer feel. With a round over bit in the router, I eased the edges.
Although I look quite angry in this picture, I enjoy every process of woodworking. Except for sanding, I don’t like sanding. Bet you didn’t think I could look so mean?
I love sanding
 Did I tell you how much I love sanding?
Glue and clamp
 The assembly process was easy on this project, just had to make sure the frame was square. A little wood glue is all that is needed to hold the frame together.
Decorative corners
 While the glue was drying, I debated how to dress up the corners. I thought of installing dowels, hammering clavos, or just leaving it plain. I settled on square pegs to keep with the craftsman tradition.
Since my drill press is out of commission for the time being, I drilled three-quarter inch holes with the hand drill to remove most of the material before applying the chisel.
Square holes
 I wouldn’t mind a hollow-chisel mortiser for Christmas!
And without one, I had to put the chisel to the round hole. The block on top of the frame guides my chisel so I am making a vertical cut.
Chamfer the square pegs
 The easiest way to chamfer the square pegs is to grind them down. I touched the four corners of three-quarter by three-quarter piece of stock to the disc sander. Then I cut off a large enough piece to use in the frame with the miter saw.
Square peg, square hole
 The square holes that I chiseled out worked perfectly with the pegs. With just a few taps of the hammer and some glue, the pegs were installed in the frame.
Cutting the mat
 While the glue was drying, I prepared the mat. I was lucky enough to find a piece of Plexiglas of the right size that did not need to be cut. I used it as a template to cut the mat.
I decided not to bevel the inside edges of the openings for the certificates. Without a beveled mat knife, this proved to be a tough task. I tried several methods, but none provided acceptable results.
Cut those pegs
 After the glue dried, I cut the pegs flush with a handsaw and sanded the corners smooth.
Making it mine
 I burned my initials and the year into the back of the frame. I’ve often been told that I should sign my work. True, and I like having the date reference to remind me of when I created something.
Finishing
 The frame was finished with an oil based stain and high gloss lacquer. I prefer to apply the stain with cheese cloth as opposed to a brush. And lately, I’ve been dabbling with a spray lacquer.
Securing the goods
 To secure the Plexiglas, mat, and backer, I shot some one inch staples into the frame. I used the outside edge to provided distance so the staples would insert about half way. The staples are then bent to allow the contents to be placed into the frame and bent back to secure them.
A point driver is the preferred method used by professionals to secure the contents in frames. Since I don’t make too many frames, I don’t have this tool and therefore, I had to improvise.
The finished product
 I’m very pleased how the diploma frame turned out. Originally, after hanging it on the wall, I was concerned that it was too large. Reflecting back on the decision to go back to school and get my degree, the frame is appropriate for such a huge accomplishment.
Get a job!
😛
Don’t be jelly! I’m enjoying this time while I can!